

Setting up a new Domain and Email Hosting plan
Setting up DNS for a new domain and email hosting plan is essential to ensure that your new emails function correctly. Follow the steps below to set up DNS for your new domain and email hosting plan:
Step 1: Create the DNS Zone
1. Log in to your account at https://clickhost.com.au/manage
2. In the menu to the left of the dashboard, click DNS.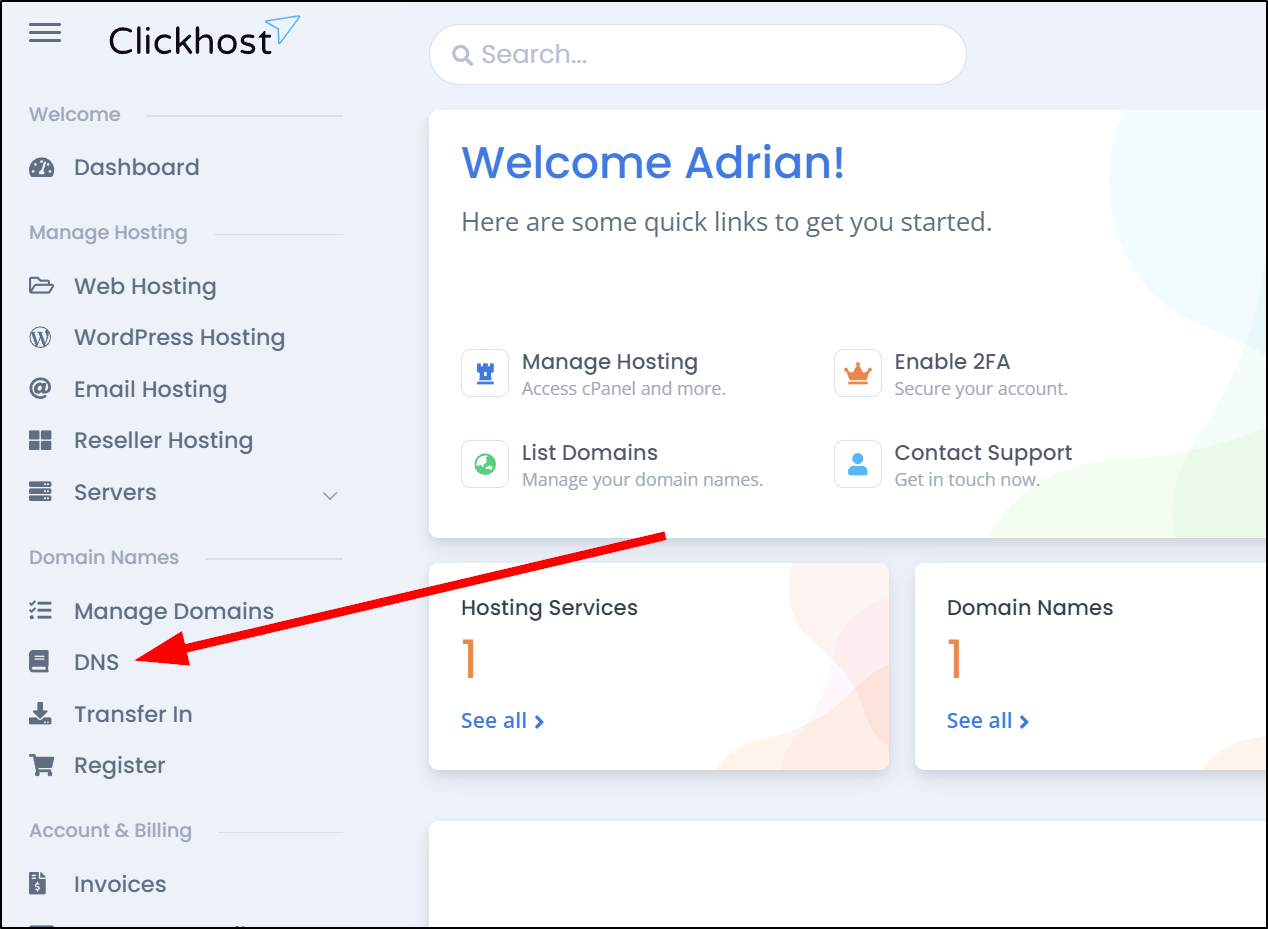
3. On the Manage DNS page, enter your new domain in the box (without www or http, etc) and then click Create below.
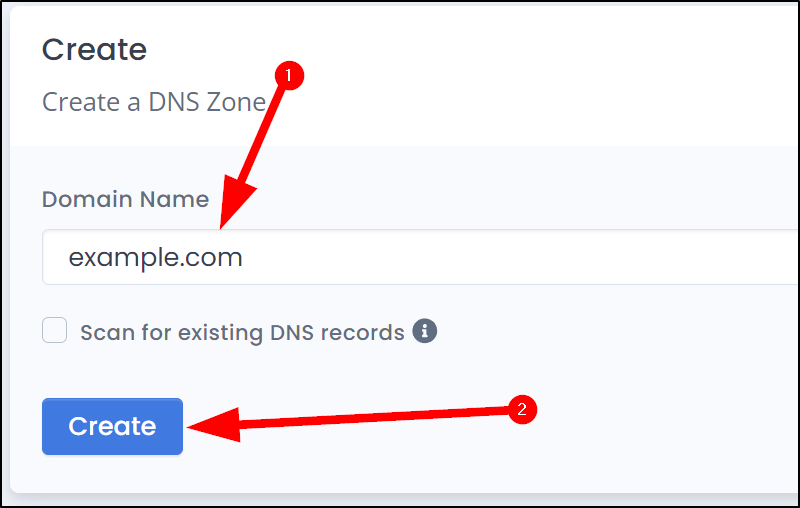
After you click Create, you will be automatically redirected into the Zone editor.
Step 2: Activate Clickhost Email Hosting Preset
1. At the top right-hand side of the page, click the "DNS Presets" button to open the DNS presets menu.
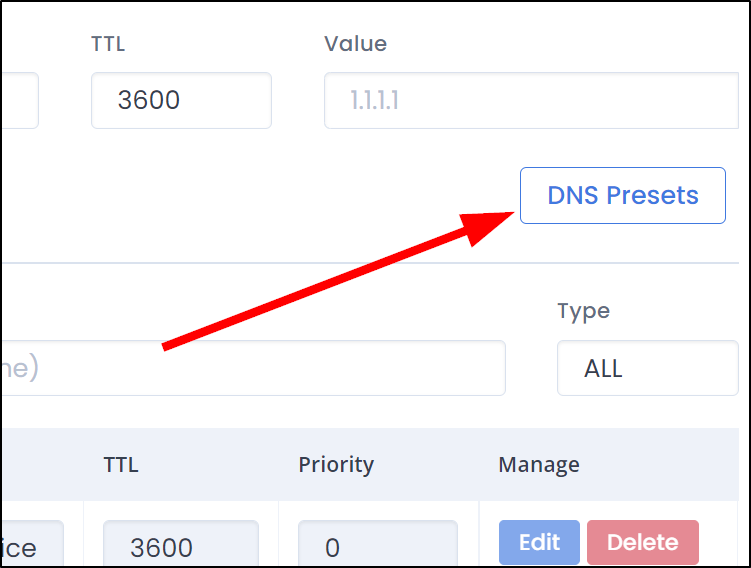
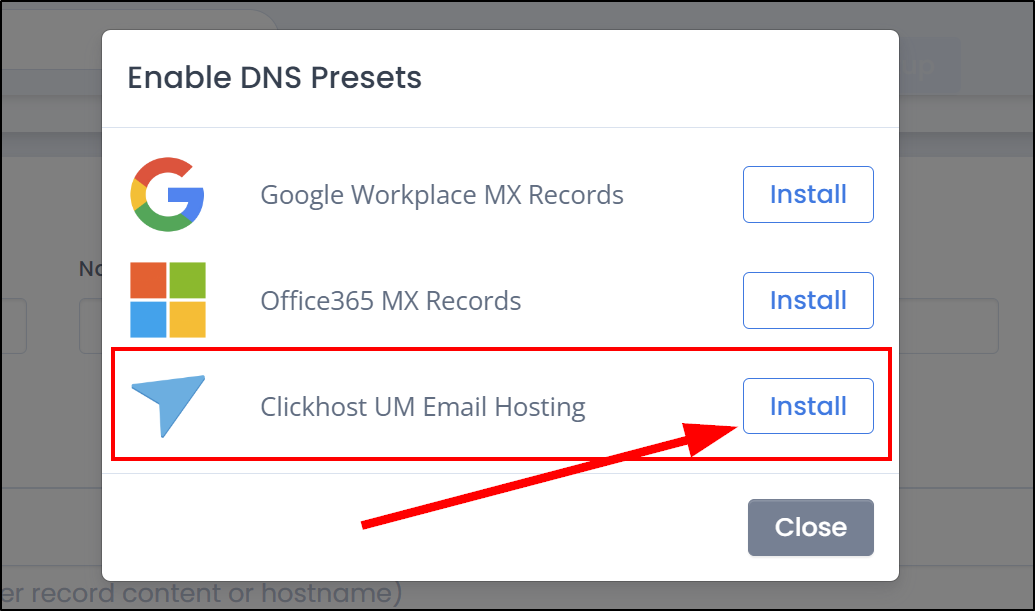
You will now see a list of DNS presets including one for "Clickhost UM Email Hosting".
2. Click Install on the button for the "Clickhost UM Email Hosting" option.
Step 3: Point the domain to our FreeDNS hosting.
Up to this point, you have created the DNS Zone and added the required DNS records using our Presets Menu but the domain doesn't point to our FreeDNS hosting yet.
The last step is to update the nameservers on the domain to make use of the new DNS zone you have created.
1. In the main menu to the left, click Manage Domains
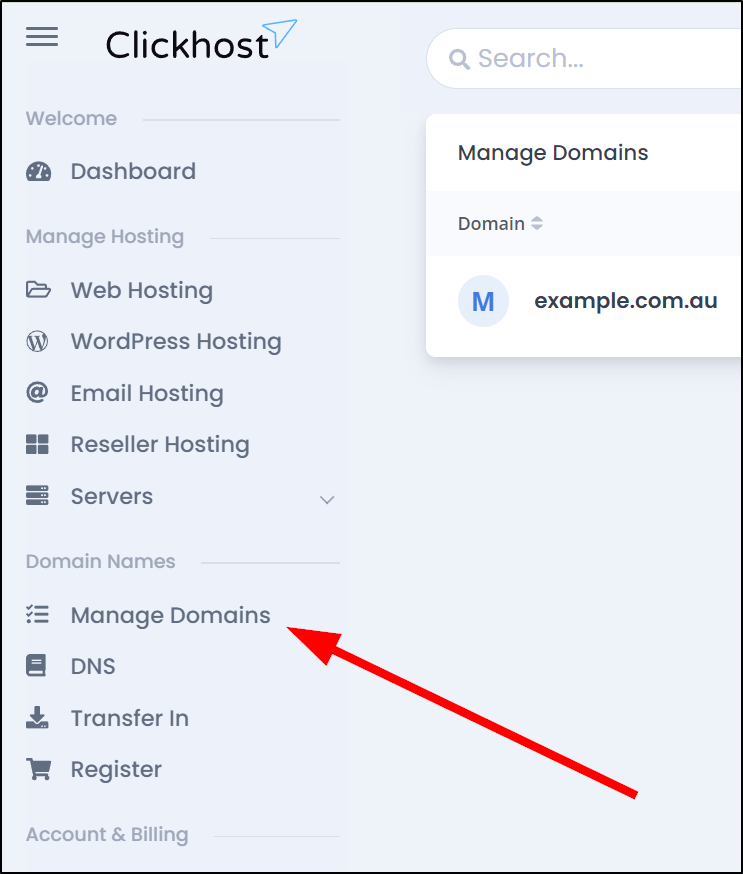
2. To the right-hand side of the domain on the Manage Domains page, click Manage

3. In the new Domain Management menu, click Nameservers
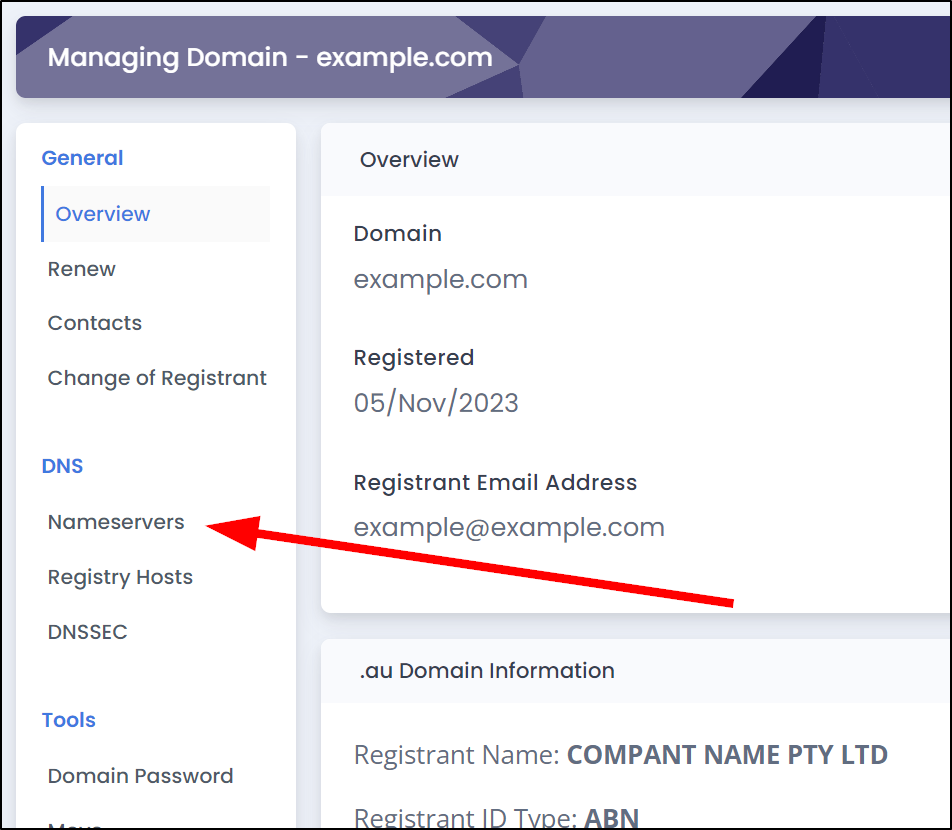
4. Click the Nameserver Presets button at the top right hand side of the Nameservers page.

You will now see a list of nameserver presets for different Clickhost hosting products.
5. Click Activate on the button for the "Clickhost Free DNS" option.

It may take some time for the DNS changes to propagate. This process can vary from a few minutes to several hours. Be patient and allow sufficient time for the changes to take effect.
Once the DNS changes have propagated, your domain and email hosting should be set up correctly. Remember to configure your email client with the correct incoming and outgoing server settings provided by your email hosting provider.
Conclusion
By following the steps outlined in this article, you should be able to set up DNS for your new domain and email hosting plan successfully. If you encounter any difficulties during the process, don't hesitate to contact your web hosting support team for assistance.
